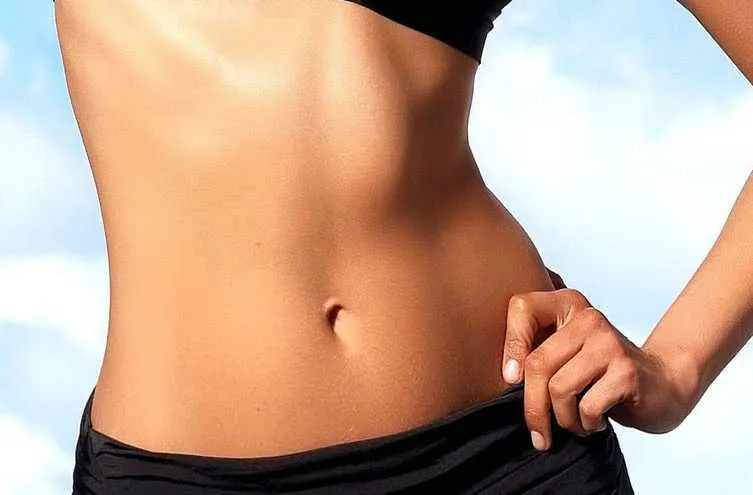
Almost everyone wants a flat tummy – thanks to stars who have made people crazy about their body and shape. A lot of people can now be seen pushing hard in the gyms doing crunches and other flat abs exercise but end up hurting back and neck.
First and foremost, you need to understand that weight loss or staying in shape is not only about looking good and getting that perfect figure that appeals to everyone, but it is actually about being healthy and fit. Your health and fitness is important for allowing you to do your duties without any fatigue and tiredness.
Top 3 Postures/ Asanas in Yoga for Reducing Weight and Increasing Stamina
You need not to push yourself too hard in order to get flat abs – there are many simple and effective yoga poses that would help you have flat tummy. In fact, practicing these yoga poses daily can strengthen your entire body, and keep you fit. These poses help you get sleek and toned muscles. However you need to be very patient with yourself when trying these poses, or if you can’t do all of these poses.
Work hard but without pushing yourself too much, and of course eat healthy to keep you energetic.
Here are some highly effective power yoga poses that would help you have flat abs:
Uthkatasana

This asana is also known as chair pose as it gets you positioned as if you are literally sitting on a chair. It strengthens your lower back, and tones the muscles of the spine, chest and hips. As this asana asks you to concentrate on muscles being used, this is also known to improve your concentration.
How to do it:
Stand straight on the floor with your hands in the Namaste form. Now, fold you knees in way that they remain parallel to the floor. You should assume as if you are positioned on a chair. Slowly raise your hands above your head, and you can keep your hands separated or together. Bend your torso a little forward and breathe normally. Try to maintain this position as long as you can while breathing normally. Strengthen your knees and bring your hands down to your chest to return back to normal position.
Avoid this if you have a back injury or insomnia; however, you can practice it even when you have periods.
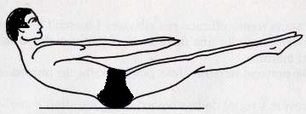
Naukasana
Typically, this is known as boat pose, and it is an ultimate way to tone your abs. It strengthens the back and abdominal muscles, and also tones you legs and arms.
How to do:
Lie down flat on the floor with your feet together and arms alongside your body. Breath in, and when you breath out, lift your chest off the floor. At the same time, lift your feet off the ground making a ten degree angle. Keep your arm straight and fingers outstretched pointing towards your toes. Make sure to keep your eyes, fingers and toes in one line. Maintain this position for five to ten breaths. Exhale and then come back down slowly to the initial position.
You should not practice this asana if you have low blood pressure, migraine, spinal injury, periods, or if you are pregnant.
Setubandhasana
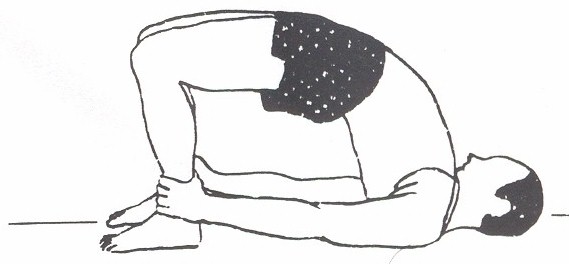
This is also known as bridge pose, and works great for your hips joints and spine. Also, it helps to relive pain, discomfort and stiffness in these regions. Practicing this asana regularly can also help you resolve any disorders associated with neck, arms and palms. It also helps in menopause related problems and respiratory disorders.
Steps:
Lie flat on the floor while keeping your feet flat on the ground. Exhale and push up off the floor with pressure on the feet. Raise your body up in such a manner that your head and neck are flat on the mat while rest of the body is in the air. You can push your hands down for added support. You can clasp your fingers just below your raised back for added stretch, but do not push yourself too hard. If you have neck or back injury, do not practice this pose.
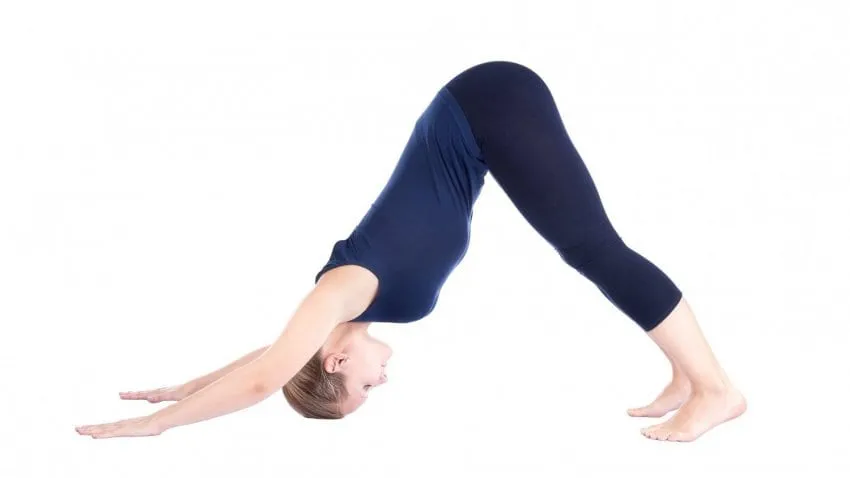
Downward facing dog with knees to nose pulse
This asana is the variation of the downward facing dog in which you bend your knee towards your nose. Lower abdomen muscles are most exercised during this pose hence this pose melts away fat from this area very effectively.
Necessary steps:
Get into downward dog asana and bend your right leg at the knee bringing it towards the nose. Do this while breathing out. Place the right leg back and practice this asana with the left leg. Continue for ten cycles or as many times as you can.
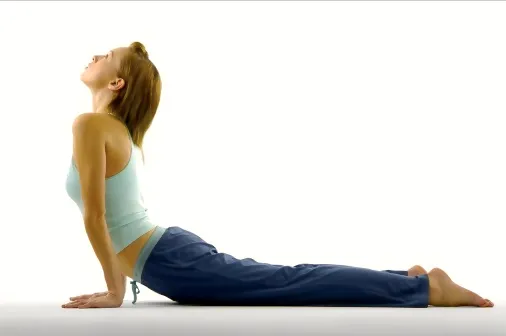
Bhujangasana (Cobra Pose)
This yoga asana gives a great stretch to your abdomen. Regular practice can strengthen back muscles, and hence advised to alleviate post-partum back pain.
How to do:
Lie flat on the mat with your face down, and legs slightly spaced out while toes keep touching the floor. Place your hands alongside the body with palms facing the floor. Slowly bring your palms underneath your shoulders. Inhale deeply and slowly lift your head and chest up the floor while gazing towards ceiling. Hold your butts firm, and tuck in your pubis towards navel. Remain in that position for around 15 to 30 seconds while breathing normally. Now, taking a deep breath try lifting your body from the waist. Bend backwards as much as you can, but do not hurt your back. Hold this posture for around 15 to 30 seconds and breathe normally. Exhale and slowly bring your body down returning to prone position. Do not put too much strain on your thighs, abdomen and back.
Side plank
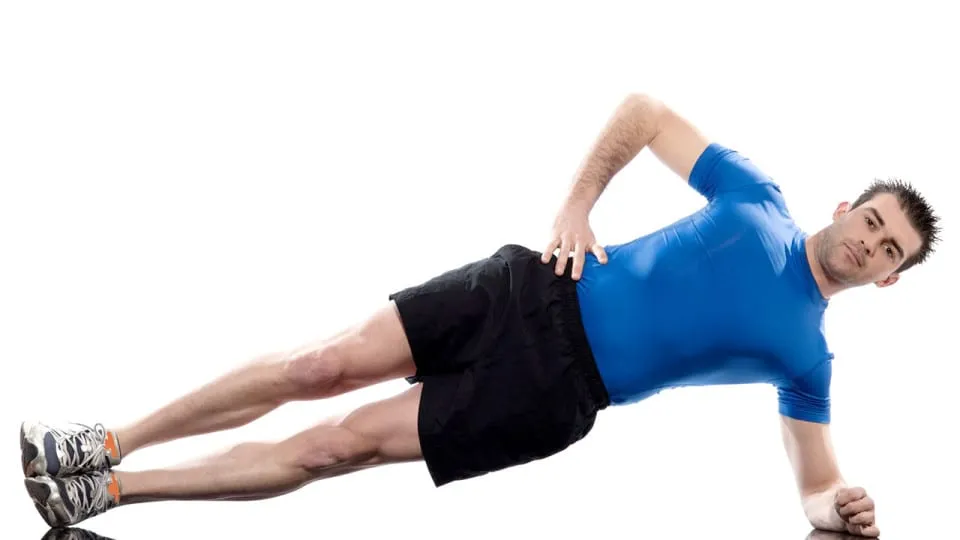
This is a variation to the traditional plank asana. Side planks tones the muscles of arms, legs and belly. It also strengthens your wrist and stretches the muscles at the back of your legs.
How to do it:
Lie on your right side keeping your legs straight. Push yourself up with your right forearm so as your body forms a diagonal line. Make sure your right hand remains directly under the shoulder to have maximum support. The edge of your right foot should be the only support aside from the right hand. Let your left hand rest on your hip. Now slowly move your right hand keeping it perpendicular to your body. Be in this position for 5 to 10 breaths and practice to gradually increase the duration. Repeat it with the other side. Return to plank position (as you do push ups) after you have done practicing.
List of Fitness Goals in 2020, You Must Follow as a Beginner

